How to make a Quilt Hopper puck

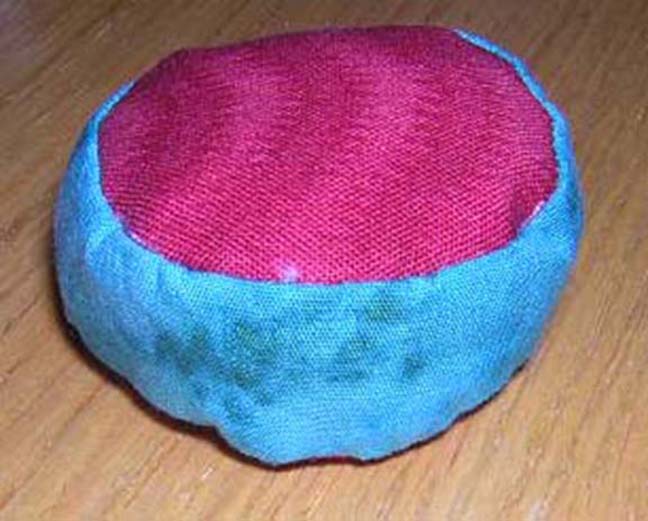
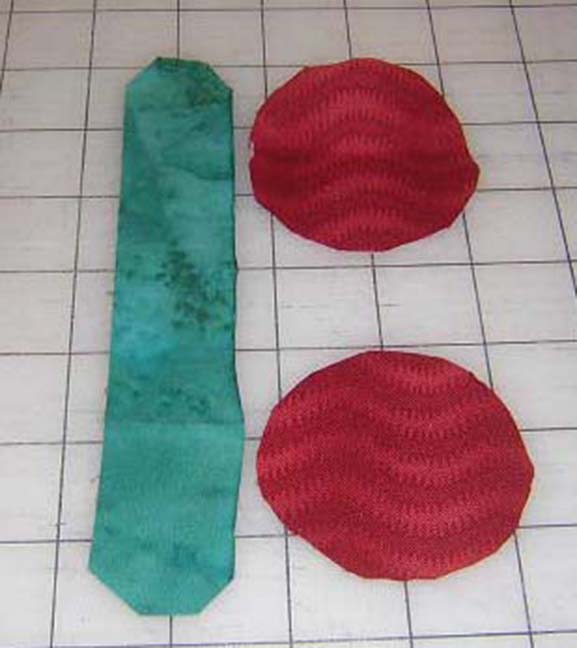
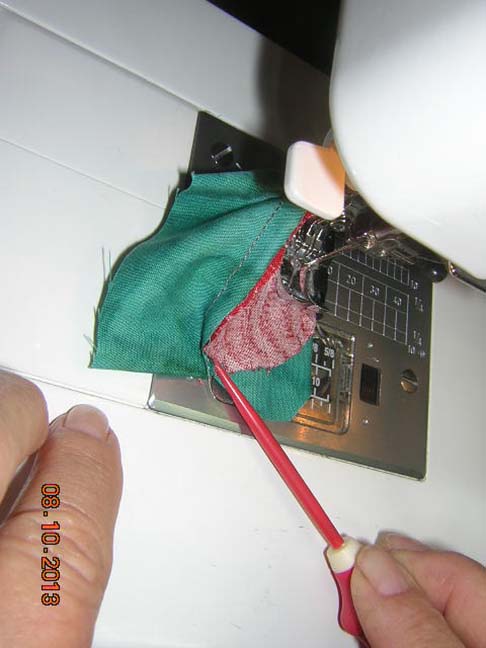
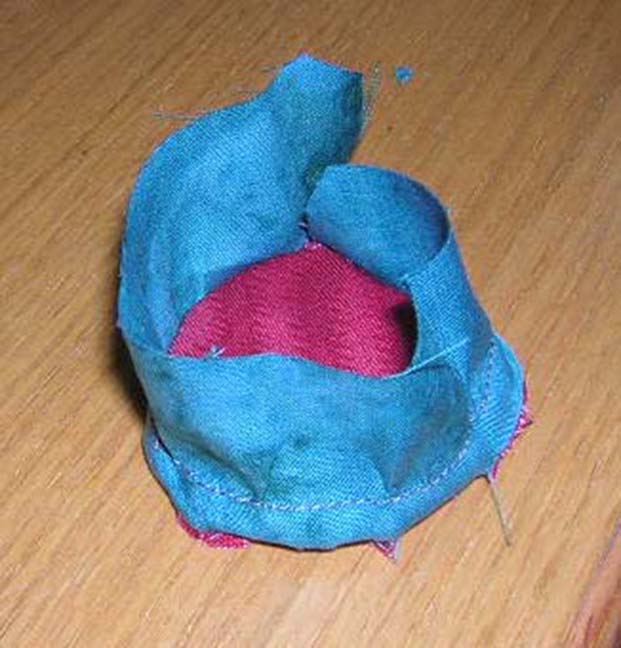
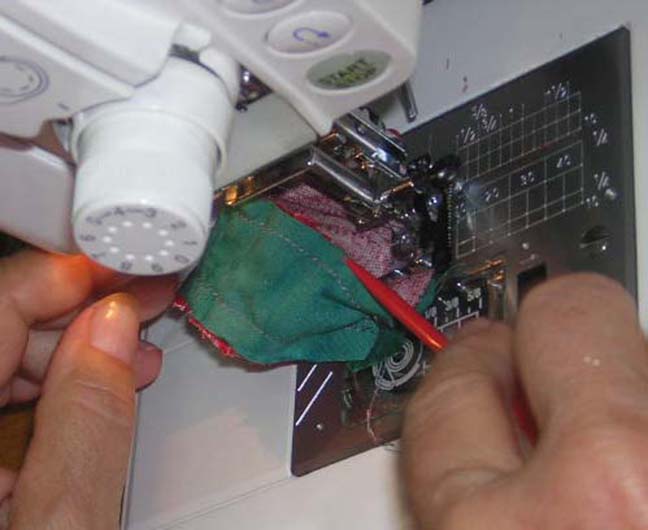
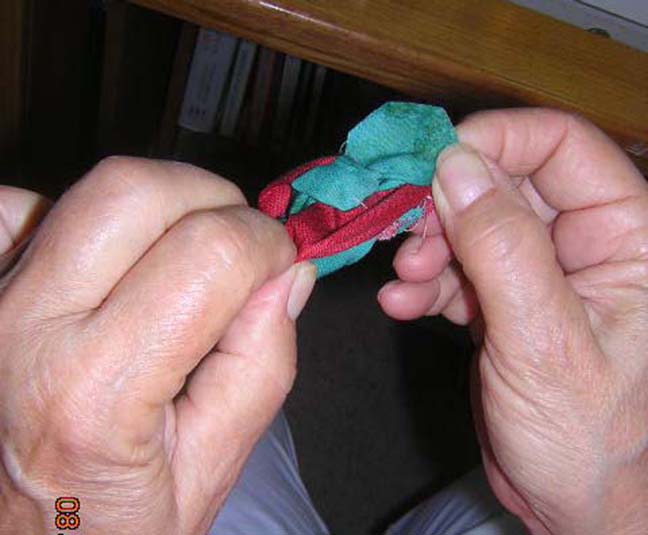
Quilt Hopper is a quick & easy strategy game played on a quilt top
Copyright Jo Anne Young & Ken Young, 2008-2013. All rights reserved.
Downloaded from http://www.DinoDudes.com
Contact Ken Young or his licensing agent if you wish to republish this document or a derived work

Go to the Quilt Hopper home page Watch JoAnne make a block
Watch Jo Anne make a cone Download the pattern for a puck


You can click on any photo to enlarge it


The puck JoAnne made here is a little on the small side. Make your first pucks a bit larger, because working with such small pieces of fabric can be tricky for beginners.

The cone is the easiest piece to make, let that be your first piece.


Jo Anne Young is going to show us how to make this plush Quilt Hopper piece
Jo Anne Young getting ready to make a Quilt Hopper piece


This is what we are making
The finished puck


The puck will be easier to make if you print the pattern bigger, but it won't fit on as many quilts.

Cut out the material (2 circles and one strip per puck).
JoAnne uses a rotary cutter for straight cuts, but scissors work just fine.
cut out a side strip for a puck        side strip & pattern
patterns for ends        cut out the ends of the puck        The ends are cut out


Now the material should look like the pattern.
Pieces of a puck, cut out


The pattern for the top & bottom have an inner and outer circle, with some little lines between.
The outer circle is the cut line. The inner circle is the edge of the finished puck.
The lines mark the little tabs on the edge of the top & bottom that sew to the side tabs on the edge strip.

JoAnne gets her little scissors and clips along the little lines to make tabs.
Clipping tabs        showing a tab


To hide the seams, JoAnne is going to make the puck inside out and then evert it to put the seams on the inside. Everting something is turning it inside-out or rightside-out.
Face the material good side to good side (always good to good). This way only the good side of the material will show when you evert the puck.
Match a tab on the bottom to one end of the side tab on the edge strip, like in the picture on the left.
Pin the tab and sew around the circle. The length of the edge strip is the same as the circumfrence of the inner circle of the bottom, and the tabs match up. Notice that JoAnne is using a push stick: safety first at all times.
It should look something like the picture on the right when you are done.
Pin at start position, material is good to good        Sewing the bottom onto the puck        The bottom is sewn on


Sew the top on.
Now you have an inside-out puck with the side-seam open.
Sewing the top onto the puck        An inside-out puck


Now JoAnne everts the puck (turns it rightside out).
She uses a stick to poke the edges out.
The puck is now right-side out, the good side of the material is showing, and all the seams are hidden.
Turning the puck right-side out        Pushing the edges out


To finish up, JoAnne stuffs the puck with batting.
Then she pins and sews the last seam.
Stuffing the puck with batting        Sewing the last seam


This is what it looks like
The finished puck


And now we are done
Jo Anne Young is done making a plush Quilt Hopper piece


The finished pieces, a complete set for a small game
2 cones, a block, and a puck


Go to the Quilt Hopper home page